
Anyway, onto the Kegerator (Oh, and please excuse the instagram pics, I was trying to share the construction process with my friends and use the filters to get better contrast):

My room mate said his co-worker had an old chest freezer in his cellar, and that it was ours if we could get it out. The thing was old ugly, and heavy as all hell, but we managed to get it out once we detached the lid/hinges. Here is the nasty old thing in our garage.

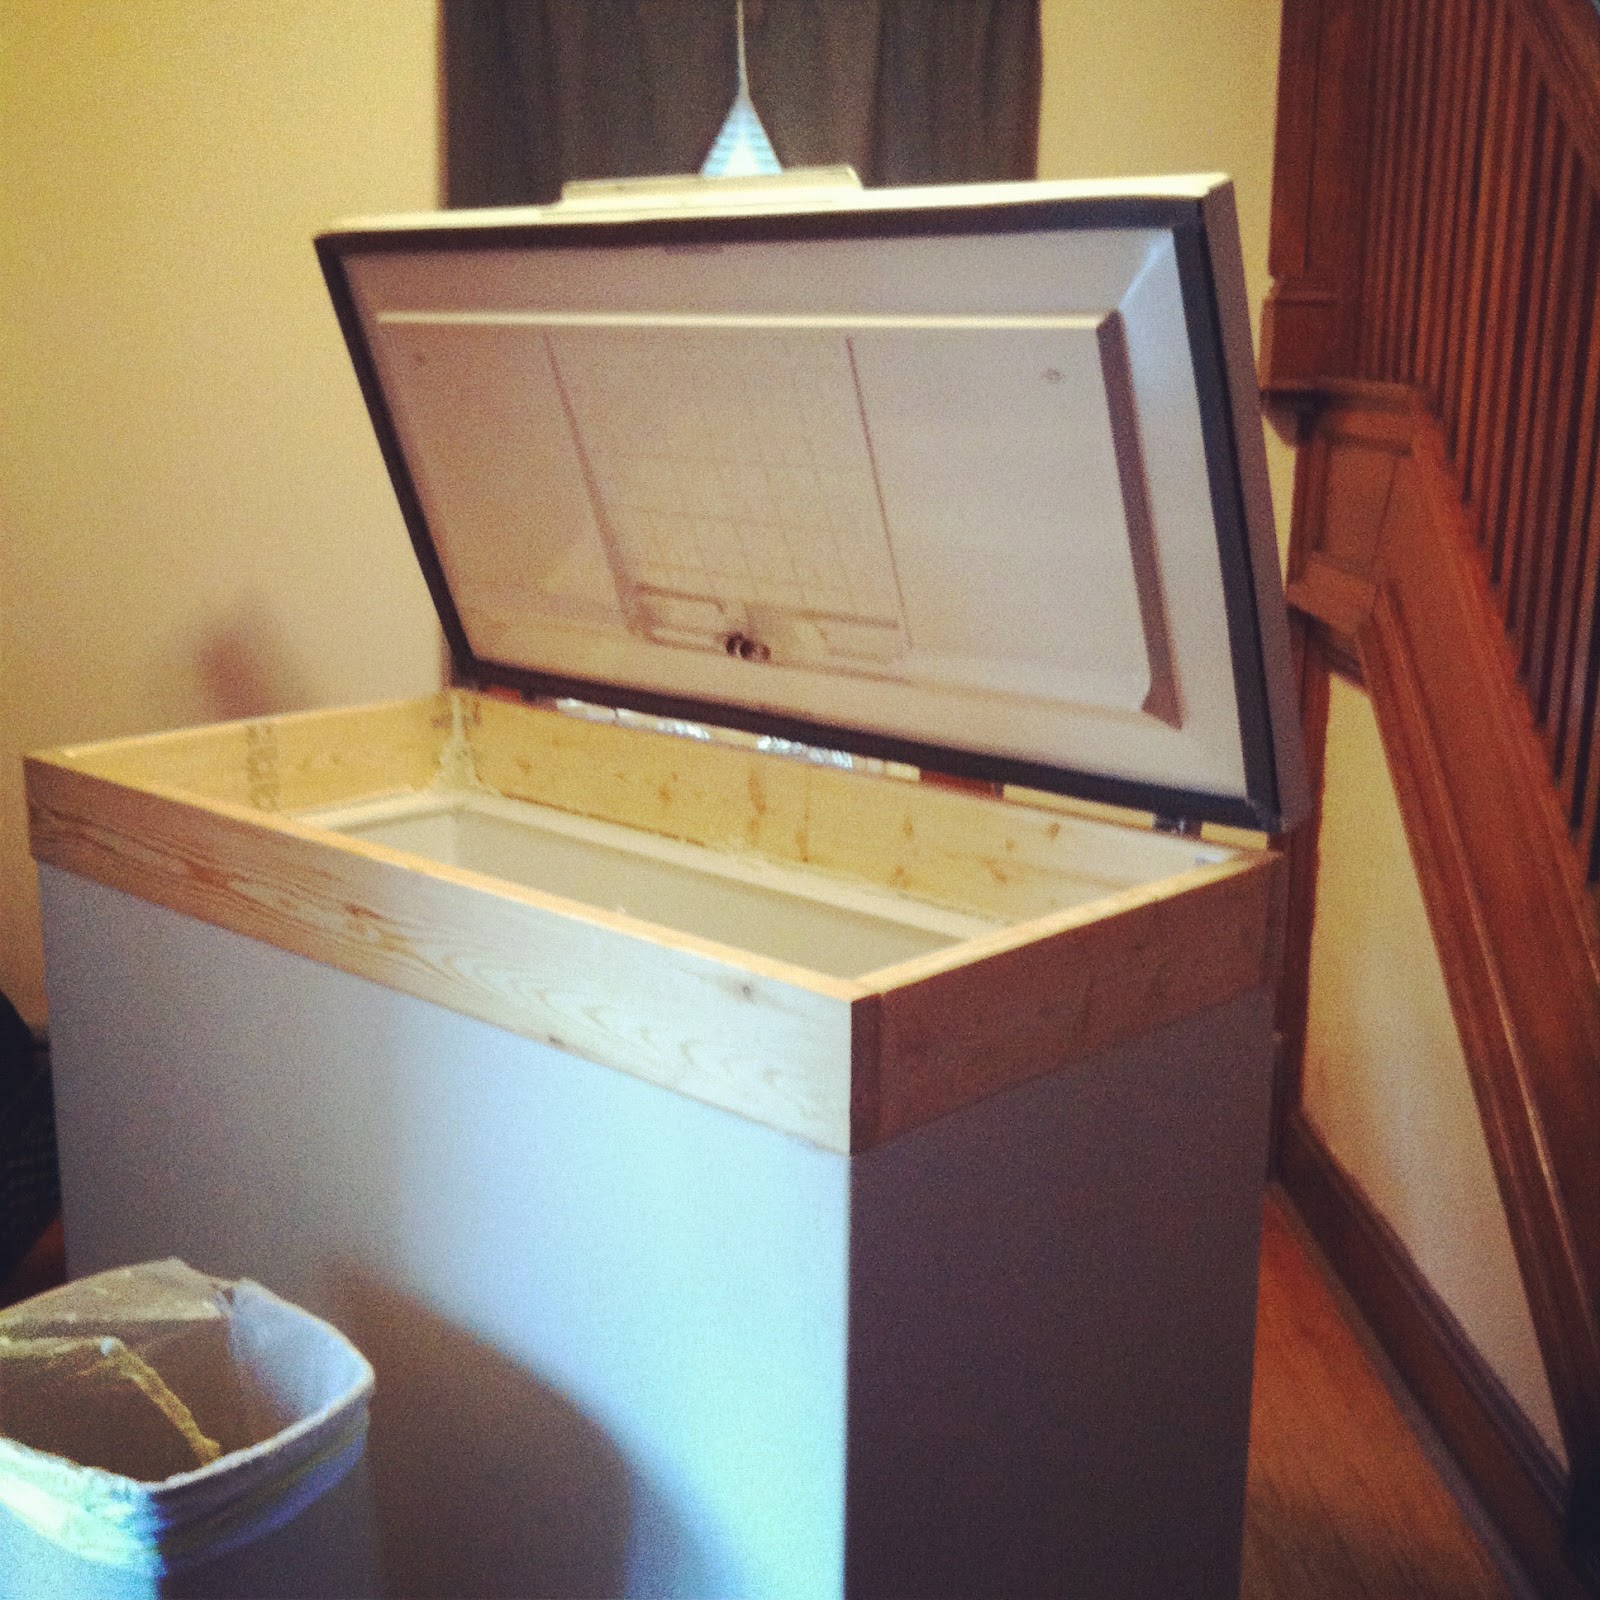
Our first task was to clean it up, which took a surprisingly long time since the dirt and grime was so caked on there. With two of us giving it two solid go overs, we probably spent an hour or so scrubbing away.

Our second task was to put a few coats of paint on the thing so it wouldn't look like such a piece of shit. We used an enamel white paint so it ended up taking a second coat to really cover up the flaws, dings, and stains on the fridge. Fortunately, it was pretty easy and quick to paint, and we managed to do both coats in a single day since it dried so quickly. There was probably a 10 fold improvement in appearance once the thing got painted.

There are two solutions to this issue:
1. Build a tower for your taps, which is expensive, difficult, makes it hard to reach your lines, and does nothing about the height space issues.
2. Build a collar, which is cheap, easy, looks great, and increases the height of the freezer.
 As you can see, we went with the collar.
Once we set the collar on top, we were really excited to check out our fridge capacity and to see if we would be able to fit either the CO2 or a keg on top of the "hump" in the back corner of the freezer. The hump is where the fridge's compressor is located, and cuts down on the internal area of the fridge.
As you can see, we ended up not putting anything on the hump, but this was because we realized that we can fit 8 kegs and a CO2 tank in there without even worrying about the hump space.
Since we were only planning on 5 taps, we decided that room for 3 extra kegs meant there was probably enough space for a fermenter or two when we need them in there.

Once we had our capacity issues sorted out and our collar built, we moved onto the issue of attaching everything to the freezer. As I said before, you can't really drill into a chest freezer without already knowing where the pipes are located, so we ended up using a clear silicon caulk to attach the collar, then bolting the lid to the back of the collar and the existing top holes from the original hinge location.
We tied the collar into place while it was drying and also used an expansion foam insulation around the inner edges of the collar to help reduce any temperature losses and fill any leaks. We also covered the crappy old lid gasket with weatherstripping to make a better seal.
At this point we moved the fridge inside since we were worried about fitting it through our door after we put on the outer decorative collar.
 We used a few 8x1 boards and a miter saw to build the outer collar. The miter saw allowed us to make 45 degree cuts on the end so that the joints between the side and front would look better.
The outer-collar is offset slightly from the 6x2 inner collar so that the lid gasket is hidden inside a sort of lip (you can see this in the back of the next picture).
We have a carboy on top in this picture to help weigh down the lid in order to sort of train the weather stripping to be a little more compressed so the lid stays flat.

At this point in the process, we were just about ready to stain the outer collar, fortunately, someone remembered that we need to bore our tap-holes first. We used a 1-inch hole saw since our shanks are just slightly smaller, and we figured they would look best fairly equidistantly spaced across the front.

We ended up putting on three coats of a glossy chestnut stain, and that seemed to bring the wood to a fairly close match in color to the wood around our house.
You can't really see the gloss that well in this picture, but I have two beautiful shots coming up of the wood with the taps attached courtesy of a friend with a way better camera then my iPhone.
 This is our temperature regulator. They cost about $45, and basically consist of a dial to set your desired temp, a probe you put inside the freezer, and a cord you plug the freezer into.
The device is basically a temperature controlled switch that cuts off power to the freezer when you hit your desired temperature. When the temp rises back up again beyond a certain threshold, the "stitch" turns back on and allows the freezer to run again bringing you back to your serving temperature.
This is just a shot of the internals, right now we have three kegs set up, a blonde, an IPA, and a cider. We have a Belgian Triple in primary right now, and will have a Hefeweizen brewed hopefully by the end of the week. I'll be doing an entry on the triple later this week, including some history on the style and probably a few commercial examples, so look forward to that.


For the hefeweizen, we will be doing a double decoction which is a difficult German brewing style that isn't used that often anymore, so definitely look forward to that!
This pic is just a piece of advice for other kegerator owners who have to use a temp regulator like ours. If you leave your probe just sitting in the air, it's going to cause your fridge/freezer to turn on and off way more frequently. Due to whatever thermodynamic heat capacity voodoo, beer and water change temperatures way slower then air. By putting your probe into a small container of water, it will get a better gist of the actual temperatures of your kegs. Since volume has an effect on heat capacity, this probe water should still change temperature quicker then your kegs, but it will be significantly slower then the air, which will save you money on your energy bills with very little impact on your beers.
 |
| Picture courtesy of Cara from www.everydayintrigue.blogspot.com Check out her blog as a thank you for this great picture. |
We used Perlick Chrome taps since we are on a budget and stainless steel is hella expensive. If you do a project like this, make sure to get forward sealing taps like these. Forward sealing taps reduce the amount of open space between the sealing point of the tap and the end of the spout, making them easier to keep clean and prevent mold. You can also see the nice glossy sheen of the stain in this picture.
 |
| Picture courtesy of Cara from www.everydayintrigue.blogspot.com Check out her blog as a thank you for this great picture. |
So, there it is. The final product. A beautiful 5 tap homebrew kegerator. After last Sunday, it looks like we'll be quite the popular location for football this season.
If you have an questions about construction, tools, or parts that we used, feel free to comment below and I'll try and help you out. I'm probably a little more handy then the average person, but I'm by no means skilled at painting/staining/woodworking/plumbing/etc so don't be intimidated by a project like this.
No comments:
Post a Comment